Using Jupyter lab notebooks#
During this tutorial, we will be using Jupyter notebooks to interact with napari and do some example exploratory image analysis. We encourage you to follow along with your own, fresh notebook, using the executed and rendered notebooks included in this repository only as a guide.
Launch the jupyter lab application#
Open your terminal application
Activate the
napari-workshopconda environment, if you haven’t already.conda activate napari-workshop
You should see
(napari-workshop)to the left of your command prompt. For example it could look something like this:(napari-workshop) $
Launch teh Jupyter lab web interface:
jupyter labYou should have a browser tab open with the Jupyter launcher:
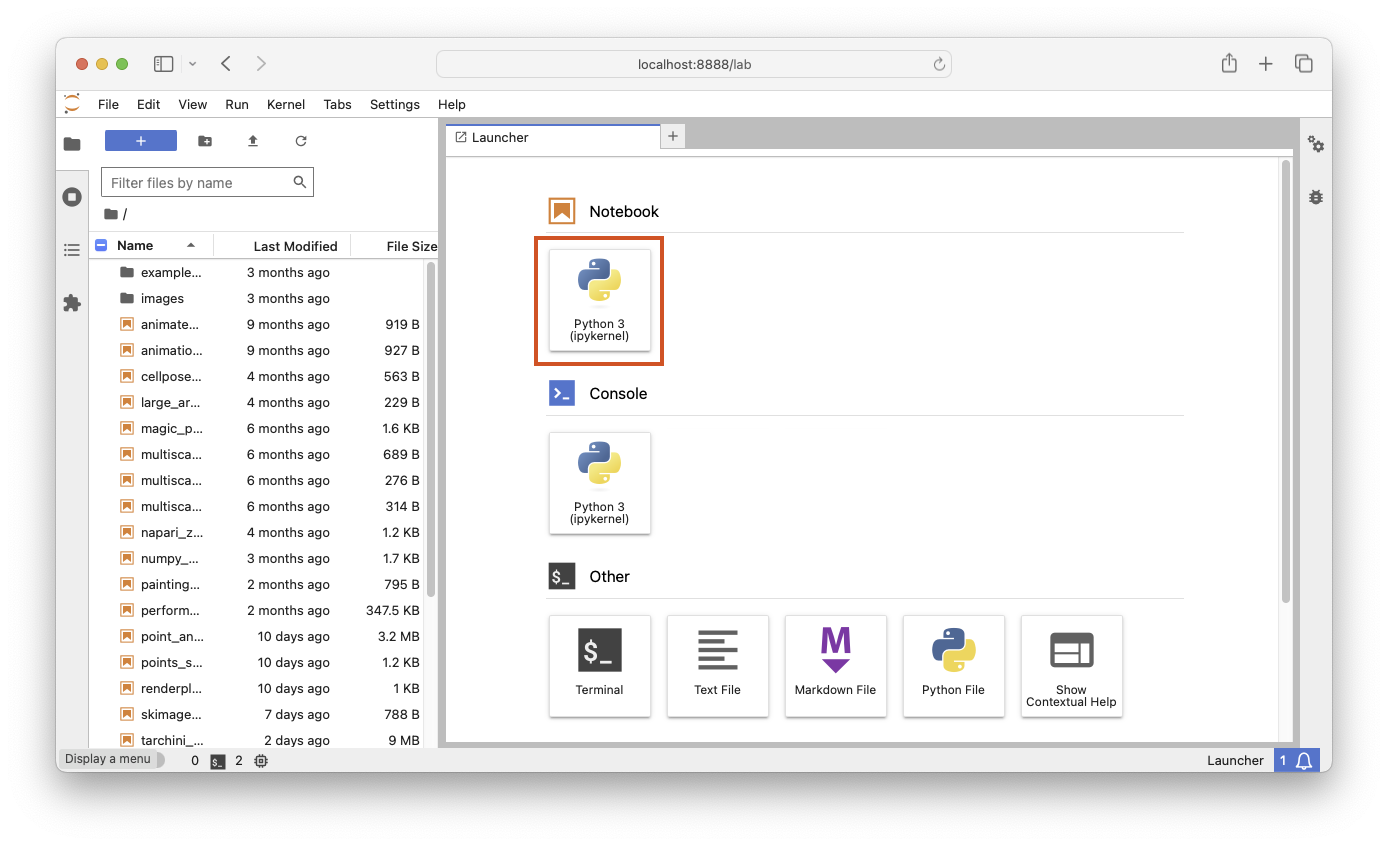
Open a new notebook, by clicking the tile under
Notebookswith the Python logo, marked in red above.You can enter code into
code cells(the default) and execute it by hitting Shift-Enter, which will also create a new code cell. We encourage you to follow along with the instructor and/or the rendered web versions of the notebooks typing the code and interacting with the napari window.Tip
If you want to enter rich-text notes using Markdown, press Escape, followed by the M-key, to switch to Markdown mode.
For more detailed information on using Jupyter notebooks, see the official Jupyter lab interface documentation and the official Jupyter notebook documentation